How to Make Pinwheels Out of Scrapbook Paper
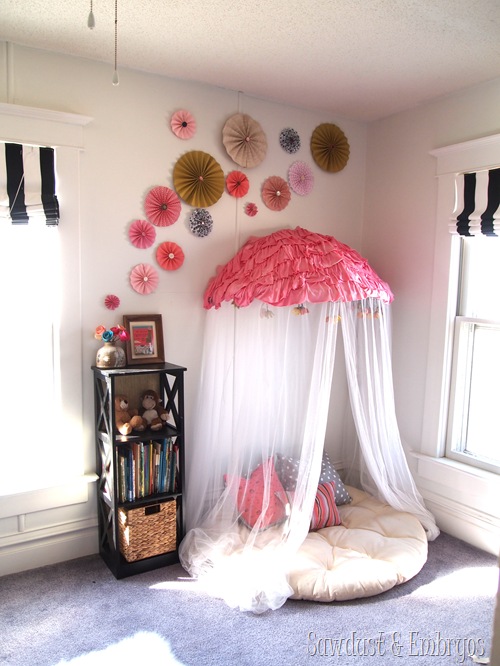
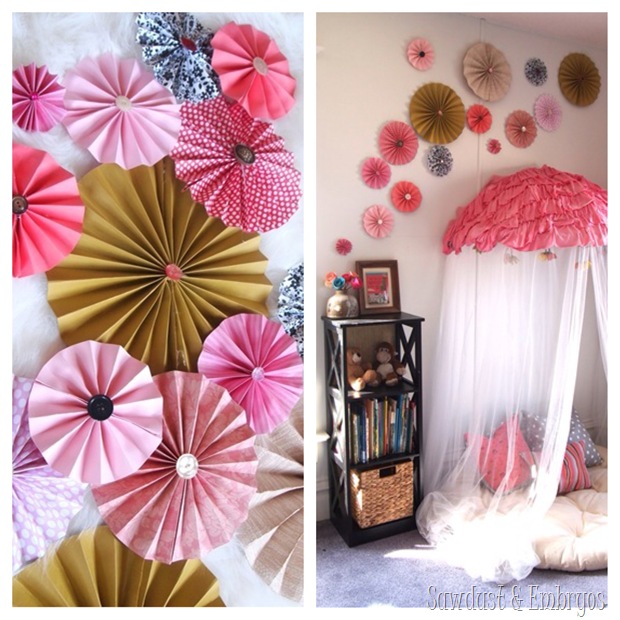
In addition to the dollhouse progress , we've been working on little finishing touches for the girls room to make it feel more personal and… finished. Ever since we added the papason canopy 'reading nook' , I knew I wanted some sort of book storage nearby. I pinned this awhile back as an idea for cute book storage, but then I fell upon this black 'x-shelf' at a miraculous winter garage sale.
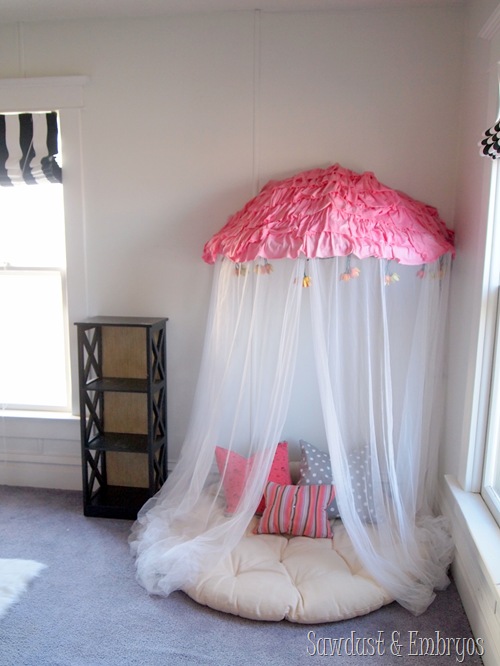
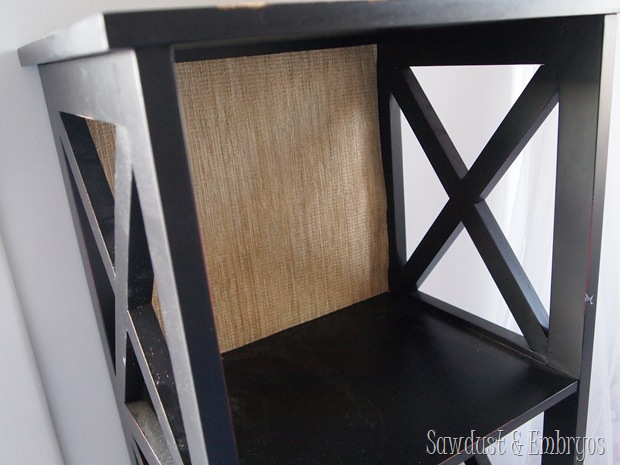
It fits perfectly in that little space between the canopy and the window, and is accessible to little girls snuggling and laughing and reading together under the twinkle lights of their reading nook. I cut some faux 'grass cloth' (shelf liners) to size and hot-glued them on the backing of the shelf for some contrast. (don't mind the dust… OOPS!)
But the area above the bookshelf and canopy was proving to be difficult for me. Originally I thought I would hang the girls' vinyl stencil artwork there, along with a few other pics to form a collage… but after holding some frames up there, it just didn't look right. They were too big and bulky, and I just couldn't find an arrangement that I liked.
And so I made some pinwheels.

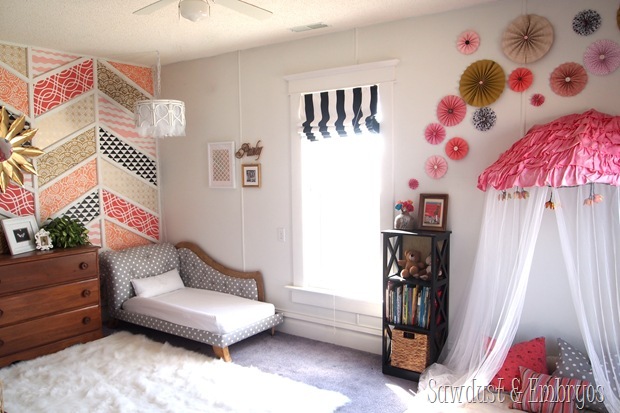
These are super easy… and they added the whimsy and pattern that I wanted to balance from the boldness of the stenciled herringbone accent wall . Don't worry, the girls' artwork (and some other sentimental art) has a special place in the room that you'll see at the end of this post).
Here's what you need for your pinwheels!
- scissors
- glue gun/sticks
- square scrapbooking paper
- plastic straws (or popsicle sticks)
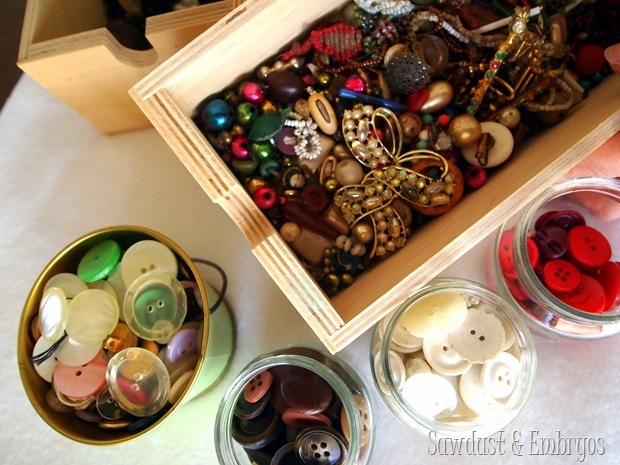
- old buttons or beads (optional)
I made lots of different sizes, but I'm going to show you the full tutorial for the medium size pinwheel. (I'll briefly show how to make the other sizes further down).
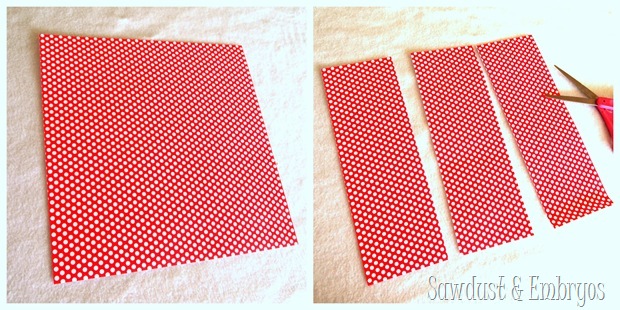
Take your scrapbook paper and cut it into 3rds. (for some reason this polka-dotted paper looks red in pics, but it's actually more of a coral)
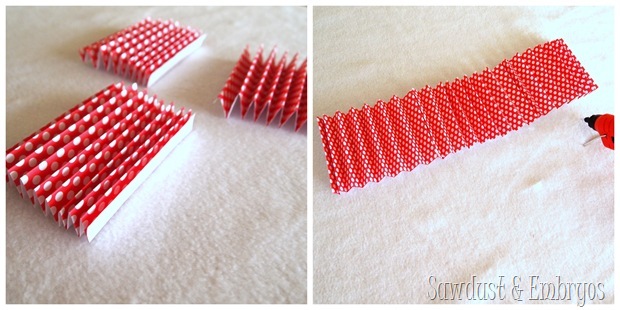
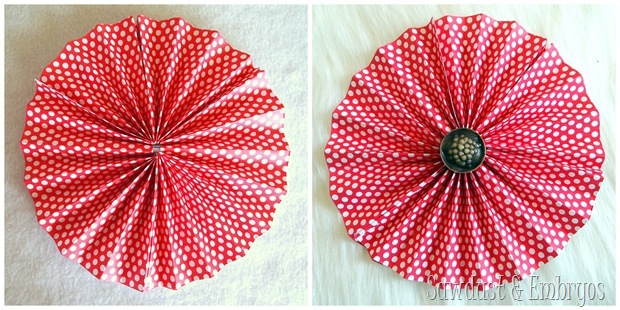
Fold each of the 3 strips into little accordions (I did about half-inch folds). Then, using a hot glue gun, glue the ends together to form one long accordion.
Bring the two ends together… forming a circle! Glue the seam together.
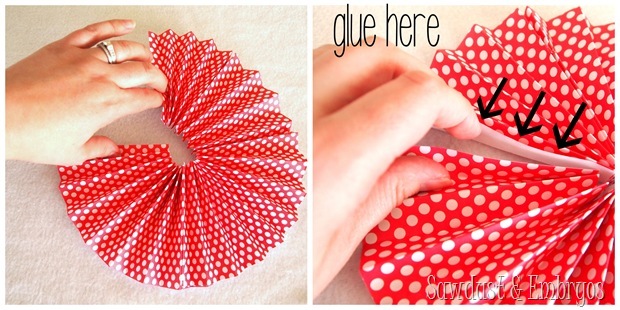
Your pinwheel doesn't have any stability in the center, so it will pop up like a little teepee. NO WORRIES!
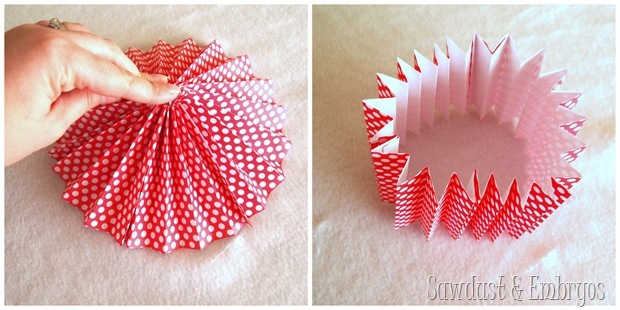
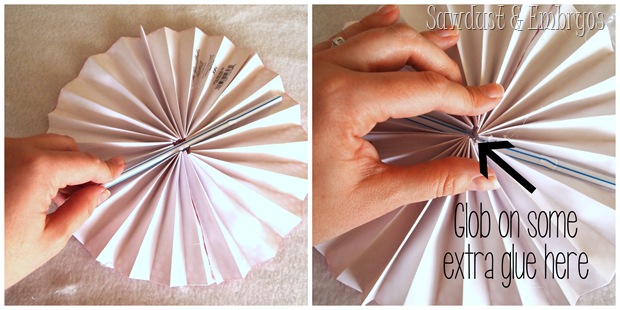
Take your plastic straw (or popsicle stick) and hot glue it on the back going straight across the center.
Flip it over and VOILA! You can do like I did and glue on a button or a gem of some kind to cover the little hole and add a little bling.
I like the custom touch that it adds!
I love the whimsy and color that these bring to this side of the room. It definitely balances to boldness of the accent wall .
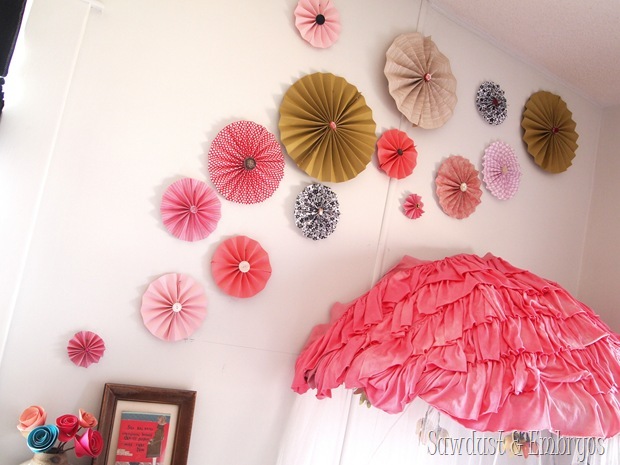
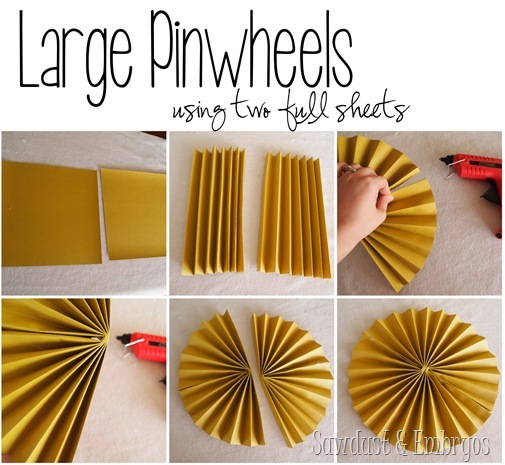
For the large pinwheels, you need two sheets of scrapbook paper, and you do two half circles and glue them together (no need for the plastic straw).
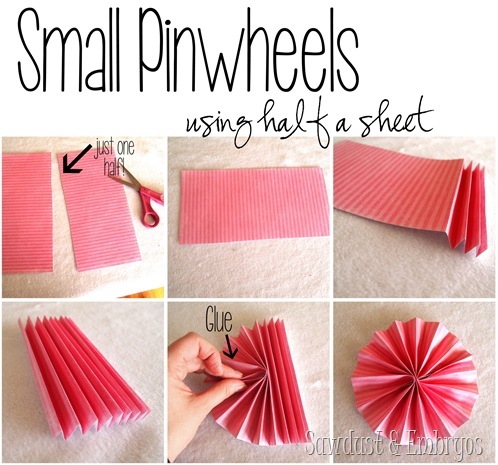
The small pinwheels were made using one half of a sheet of scrapbooking paper. After I folded it into an accordion, I pinched it in the center and fanned out each side one at a time, gluing the edges together… like so:
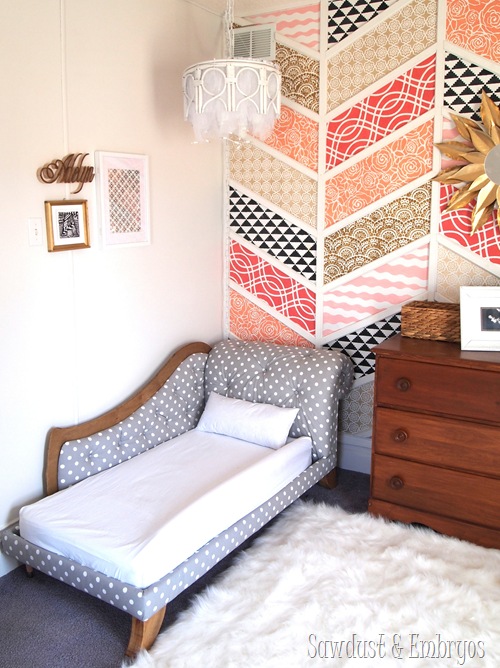
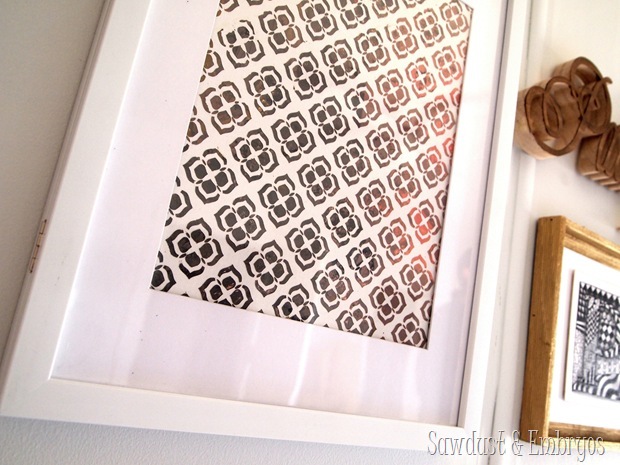
Not to worry about the girls' adorable paintings. I decided to make them their own mini collages on the wall above their respective beds. Especially since this room is very symmetrical, and both beds are identical… I wanted them to know that they DO have their own bed (if they so choose to sleep in it).
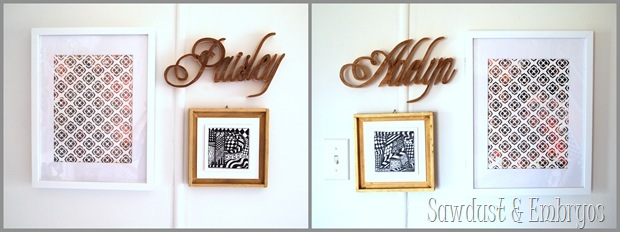
As you know, the patterned paintings were done by the girls using vinyl as a stencil , and with the same paint as the accent wall colors.
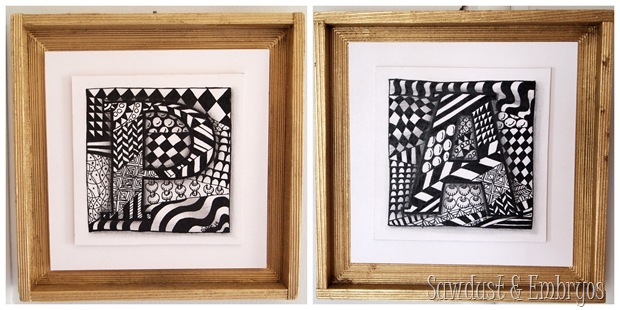
The black and white pieces of art are the first letters of the girls' name if you look closely. My talented and creative Mother in Law Diane made these for the girls. This type of art is called 'Zentangle'.
And finally, using one of my new favorite fonts (Champagne!), I cut out their names with my scroll saw after using my overhead projector to trace their names on a piece of pine. I stained just the top surface with the same shade of stain that we used on the trim of the mini fainting couches .
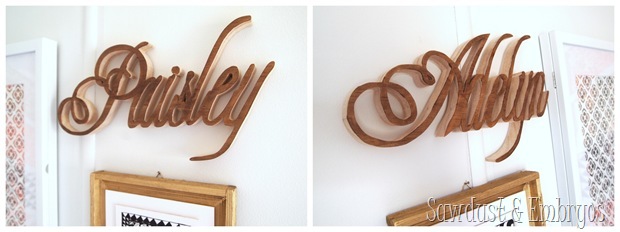
We're actually making these available on our Etsy Shop if you're interested.
These pictures are reminding me that I need to finish their bedding soon! I've had a couple recent sewing failures, so I need to work up my adrenaline and just finish… ya know?! It's gonna be super cute.
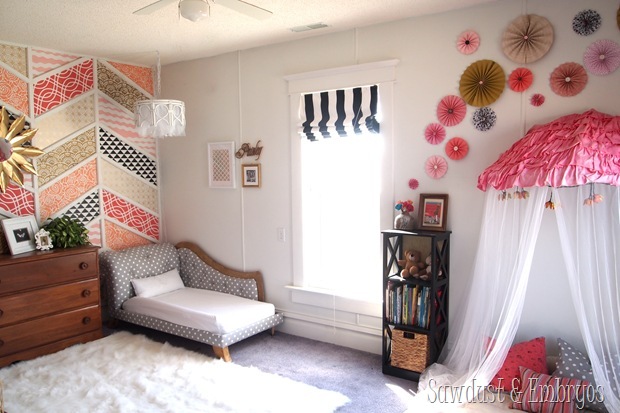
Cause the truth is, this room needs to be MOVE-IN READY. Like turn-key. ASAP. It pains me to even type this, but the girls could start throwing themselves out of the crib at any moment. This adorable room of theirs could be occupied any one of these nights. I'm anxiously awaiting and anxiously dreading it all at the same time.
Did your toddler(s) have a smooth transition from crib to toddler/twin bed? Do you have any helpful tips or favorite wine coolers you could suggest to me?

Come check out all the other projects that we've done in this room! We've poured our heart and soul into this room, and have DIYed almost everything in it. It's been such an amazing labor of love for your sweet girls. Click the image below!
How to Make Pinwheels Out of Scrapbook Paper
Source: https://realitydaydream.com/pinwheel-collage-using-scrapbook-paper/
0 Response to "How to Make Pinwheels Out of Scrapbook Paper"
Post a Comment